Rules Tool – Getting Started
Here’s an excellent place to start getting your rules to Dized! A lot of the instructions below can already be called “best practices”, but there’s still a lot of space for creativity!
Below you can find a full video tutorial on how to create a ruleset with the Dized Rule Creation Tool. It’s planned to be used together with the guide.
Getting Started – Preparing the rules text
- Open up your rules and start cutting them up in to small bits. It’s suggested to use the existing rulebook text for this. While not suggested, you can do this straight in the Tool and skip most of the prepwork. But for example, we’ve found that Google Sheets is an excellent tool for this phase as it helps to structure your thoughts and ideas. You can find a template here, that you can use. Just copy or download it to your own use.
- At this stage, cut the rules up in a way that there’s one ‘full rule’ per cell. It might be a sentence, or 2 paragraphs.
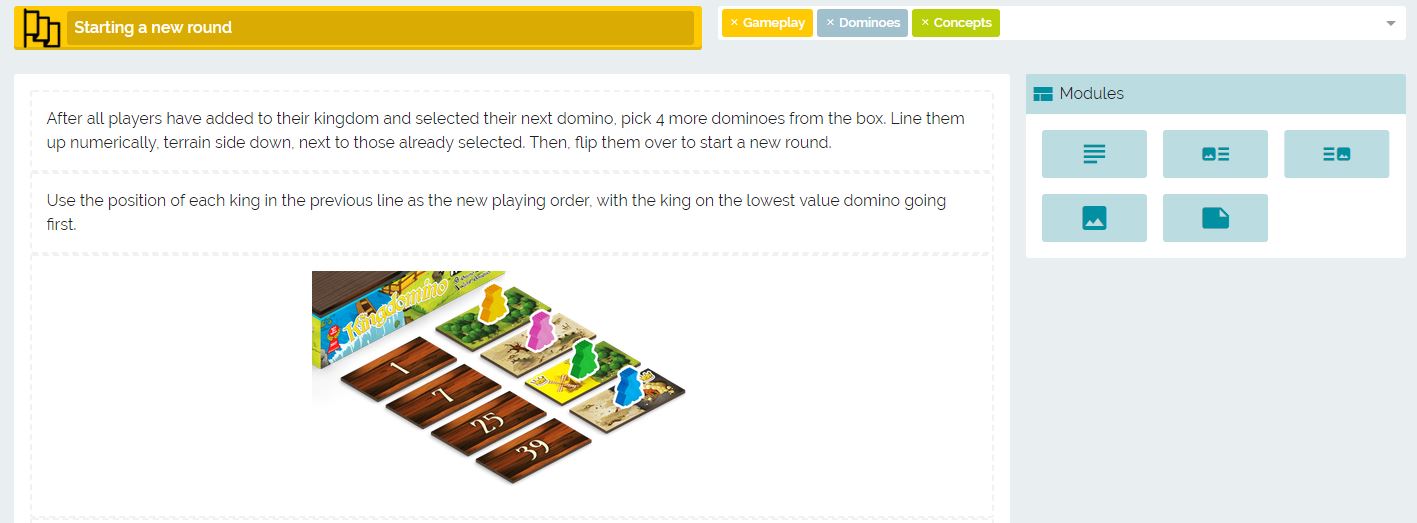
- Here’s a good example of a short and to the point, a rule called “Starting a new Round“:
After all players have added to their kingdom and selected their next domino, pick 4 more dominoes from the box. Line them up numerically, terrain side down, next to those already selected. Then, flip them over to start a new round. Use the position of each king in the previous line as the new playing order, with the king on the lowest value domino going first.
- While it has several statements, they’re all closely related to “Starting a new Round”.
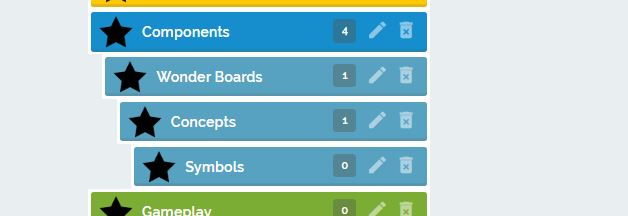
- Now that you know what the rules of the game are, you can come up with categories, in to which the rules will be split in to. Examples: Components, Setup, Concepts, General, Gameplay, Examples, Variations, Strategies etc. Also, right now the Tools support 4 subcategories. So rules can be in Components/Wonder Boards/Concepts/Symbols for example.
- Use the sheets template and divide the rules you created in to these categories.
Creating Categories and Rules
Now is a good time to start adding the content in to the Tools!
- Create all the categories, and color code them so they stand out thematically from each other. You can create subcategories by creating a category and dragging it to the right side of a main category box.
- Create all the rules, but don’t add content in them yet. Create the structure first. Tip: if you click a category it creates a filter, now all the rules created are automatically created under that category. These can be re-arranged later as well.
- After you have all the Categories and Rules in place, it’s time to add content to the rules! Click a rule open, drag a text box and add the text content in the box. Don’t worry about images now, you can put the empty image modules to right places if you wish though. Rinse and repeat until you have all the text moved to the rules. Add any formatting to the text at this point. Remember to check that there’s no extra line breaks in the text after you close / save the rule. Extra stuff might follow when copy-pasting from sheets!
- If you you have several topics discussed inside one rule, it’s a good idea to put each topic in it’s own Text Module! This will help with the “search and FAQ” functions later on. Following the example below, this is what the Rule looks like:
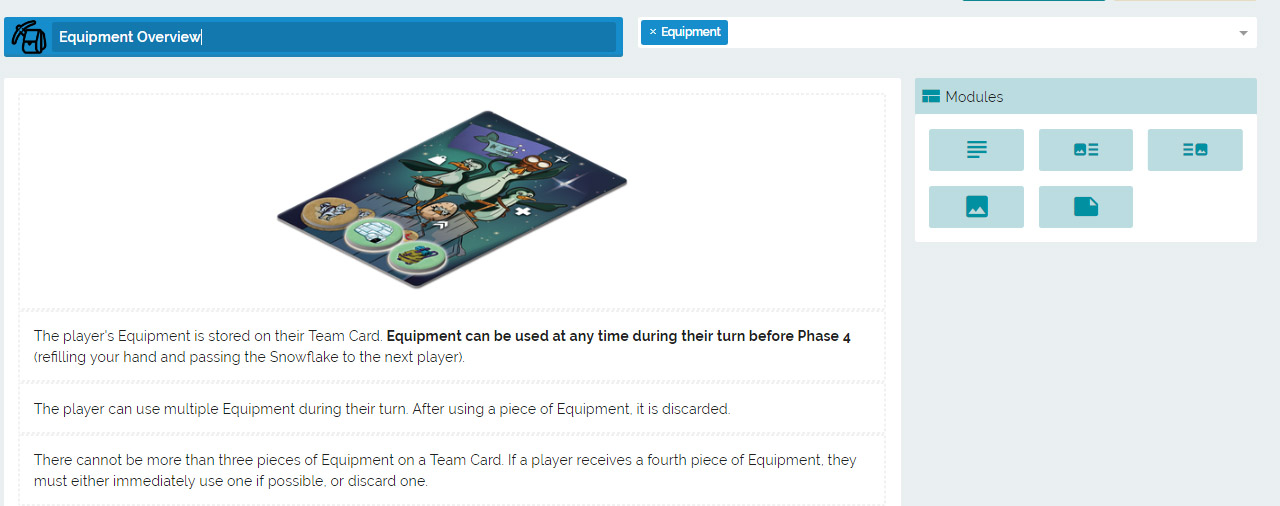
Here’s another example from another game. Each “statement” is separated to its own module. Some of them have several sentences as they’re closely related.
Creating Related Rules
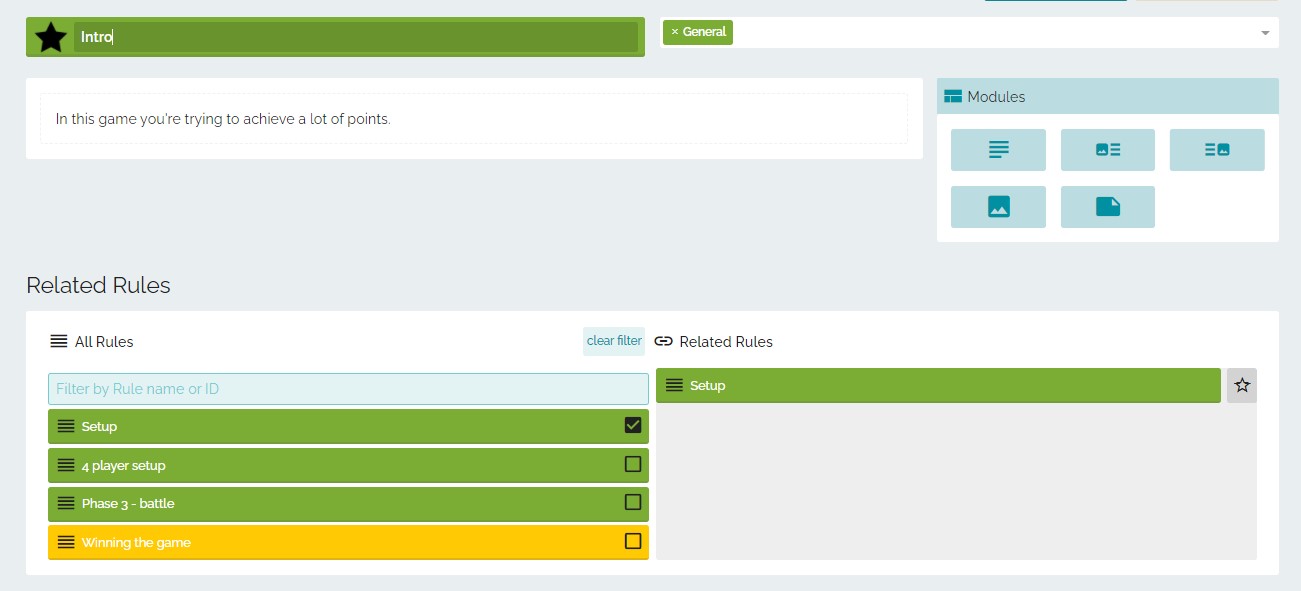
Inside the rule there’s a box for related rules, you just pick the ones that are related to that rule you have open.
Adding FAQ Questions
Next it’s time to create the FAQ questions. They are questions people tend to ask the most “How do I win the game” or some trickier ones. Several titles already have an FAQ sheet already done in their homepage or forums and they’re easy to move over.
There’s two ways to add FAQ questions
- Under the Rule you’re editing
- FAQ tab in the top
No matter which you use, type in the question, the short answer “yes – no – 3 money” and the few sentence long answer if need be. Remember to point the FAQ question towards a Rule in the game, if possible. This happens automatically if you create the FAQ question when editing a Rule.
Adding Images
Last step is to put on all the images to the Rules. Some Rules might have several, and some of the shorter one’s might not have any. Add all the images you’re going to use to the Asset Manager and then adjust the images and text to your liking! Or create them one by one with the aid of the rulebook and assets from the publisher, if you prefer.
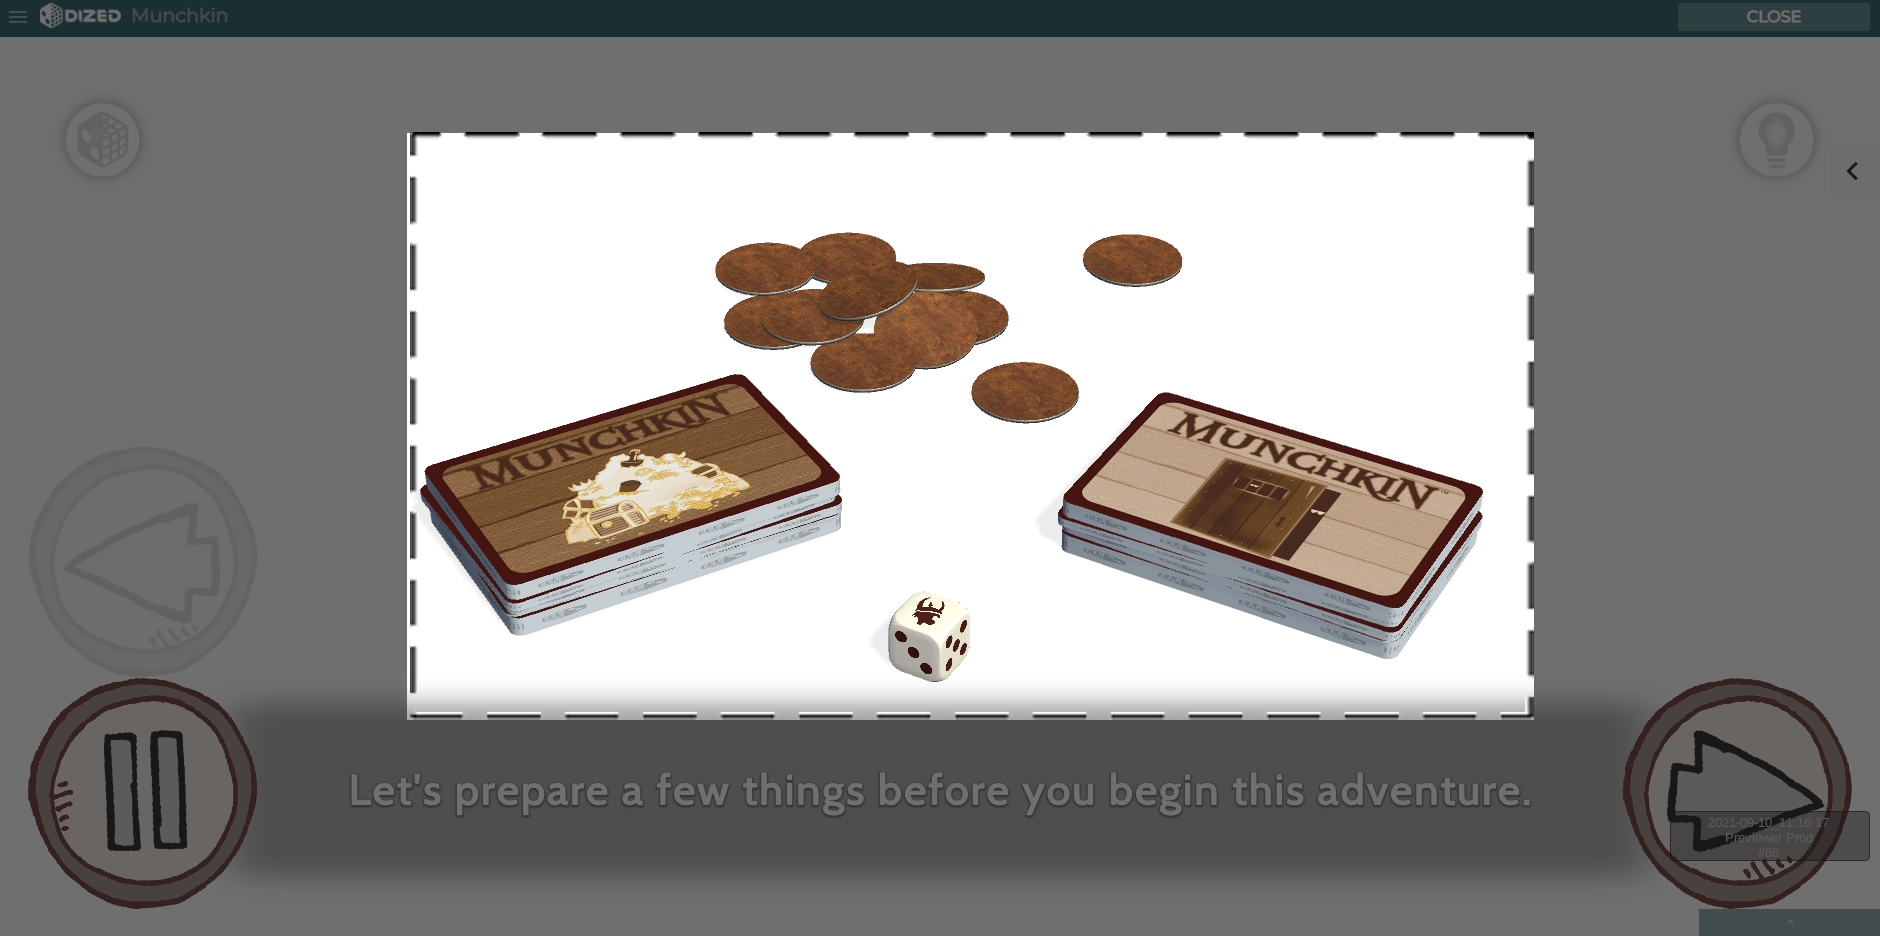
But whenever possible, we recommend using the Tutorial to create the images. By changing the background to white, relevant images are easy to find and might not even require any camera/layout changes.
Inline icons in the text can be added at this stage as well, if there are any.
If you have icons you wish to use, you can add them at this stage.
While space is not limited, please make sure your assets are the optimal size to keep the performance at a good level! All the specifications to create images (size, file format, etc.) are available on the Graphical Assets page.
For easier organization and management, if you’re creating new images for the Dized Rules, it’s suggested to name them after the rule they’re attached to in the Creation Tool.
Publishing
That’s it. You have everything in place and at this stage it’s good to have a few fresh eyes take a look at the content before submitting it to review to Dized! If everything is in order, it’s ready to be put in to Dized!

